Mastering the Art of Seasoning Your Blackstone Griddle: A Comprehensive Guide
Investing in a Blackstone griddle opens up a world of culinary possibilities, from sizzling breakfasts to gourmet dinners. However, to fully harness its potential and ensure longevity, proper seasoning is paramount. This process not only creates a non-stick surface but also protects the griddle from rust and enhances the flavor of your dishes. In this guide, we’ll walk you through the steps to effectively season your Blackstone griddle, ensuring it becomes an indispensable tool in your outdoor cooking arsenal.
Understanding the Importance of Seasoning
Seasoning involves applying a thin layer of oil to the griddle’s surface and heating it to create a durable, non-stick coating. This process fills the microscopic pores in the metal, preventing food from sticking and safeguarding against rust. Think of it as laying the foundation for all your future culinary creations on the griddle.
Benefits of Proper Seasoning
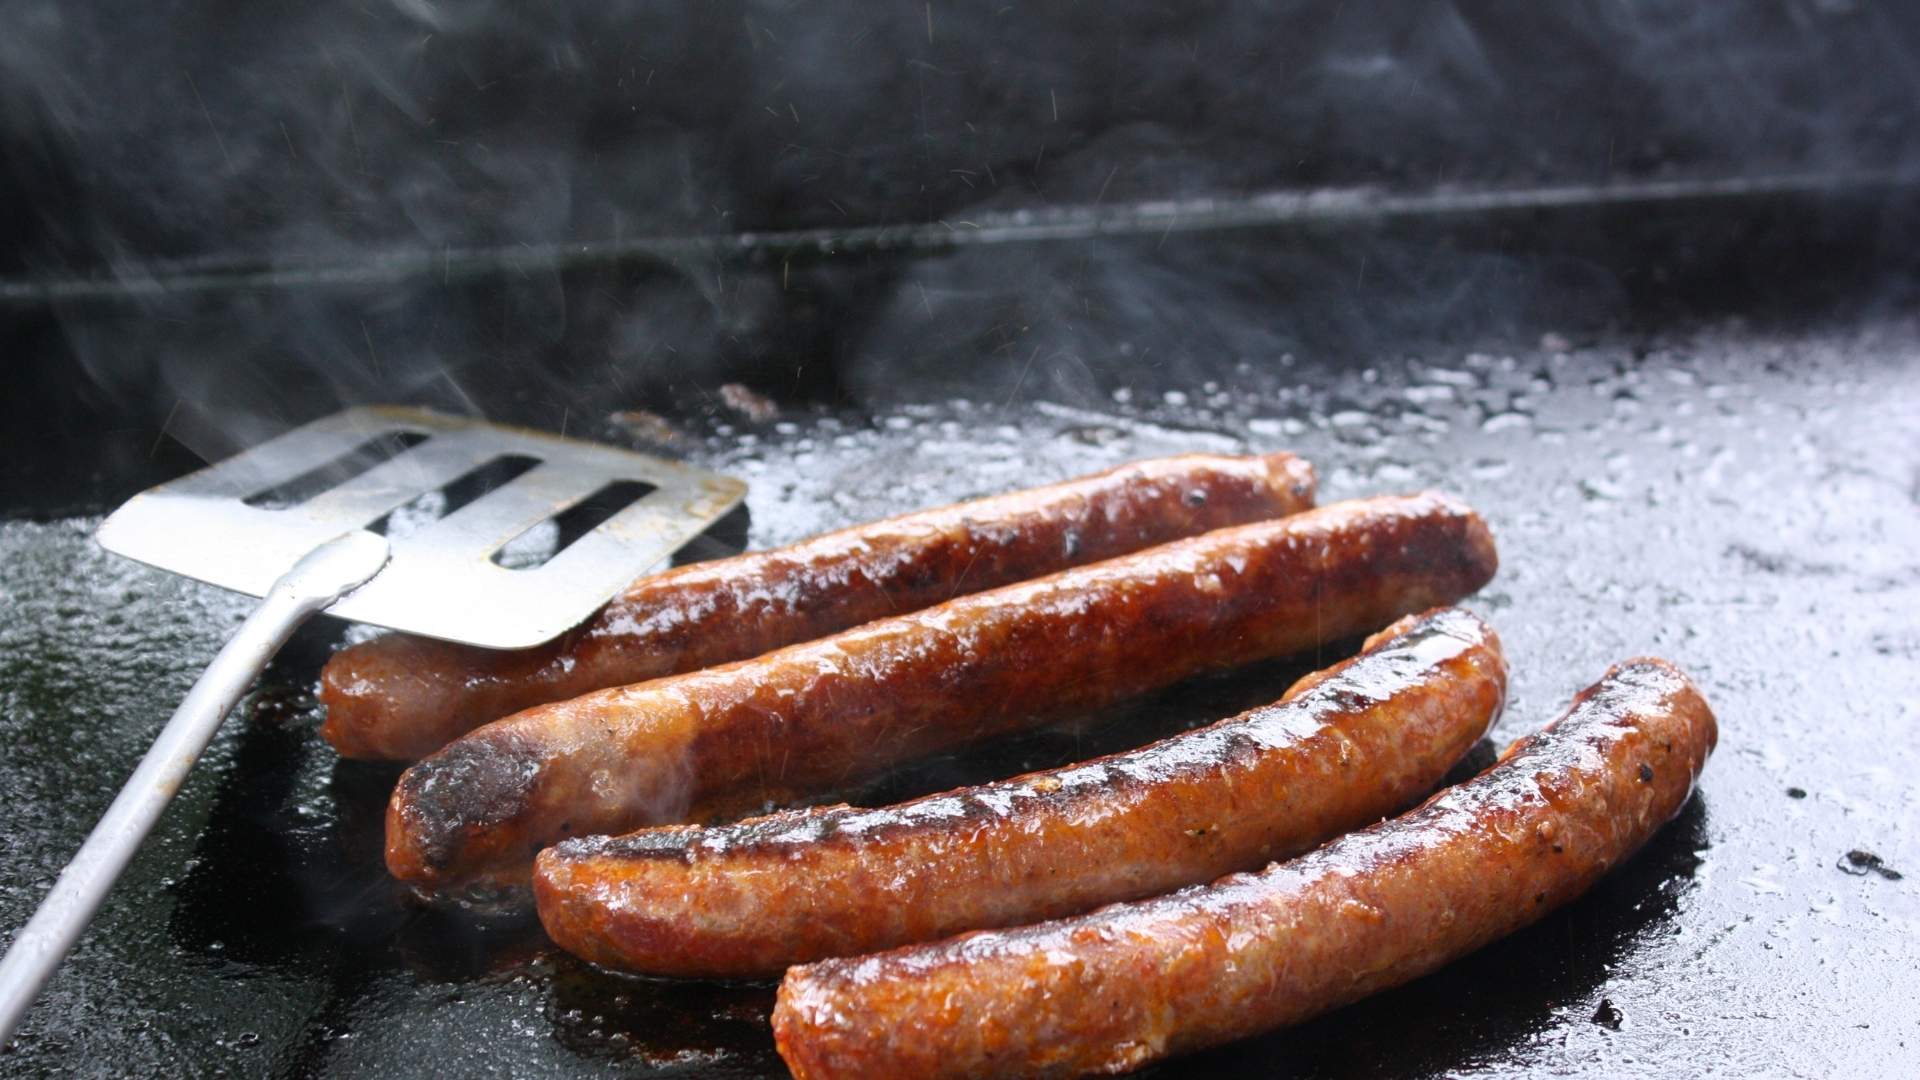
- Non-Stick Surface: A well-seasoned griddle ensures that foods like pancakes, eggs, and burgers glide smoothly without sticking.
- Rust Prevention: The oil layer acts as a barrier against moisture, reducing the risk of corrosion.
- Enhanced Flavor: Over time, the seasoned surface contributes to the rich, distinctive flavors characteristic of griddle-cooked meals.
Choosing the Right Oil for Seasoning
Selecting an oil with a high smoke point is crucial for effective seasoning. Oils with higher smoke points can withstand the griddle’s heat without breaking down, ensuring a robust and durable seasoning layer.
Recommended Oils
- Flaxseed Oil: Often favored for its ability to create a hard, durable seasoning layer.
- Grapeseed Oil: Known for its neutral flavor and high smoke point.
- Avocado Oil: Offers a high smoke point and imparts a subtle flavor.
- Canola Oil: A cost-effective option with a relatively high smoke point.
Alternatively, Blackstone offers a proprietary Griddle Seasoning and Cast Iron Conditioner, specifically formulated for their griddles. Using this product can simplify the seasoning process and ensure optimal results. :contentReference[oaicite:0]{index=0}
Step-by-Step Guide to Seasoning Your Blackstone Griddle
1. Initial Cleaning
Before the first seasoning, it’s essential to remove any residual oils or contaminants from manufacturing. Here’s how:
- Fill a bucket with warm water and add a few drops of mild dish soap.
- Using a microfiber cloth, scrub the griddle surface thoroughly, ensuring all corners and edges are cleaned.
- Rinse with clean water to remove any soap residue.
- Dry the surface completely with a lint-free cloth to prevent rusting.
2. Heating the Griddle
After cleaning, ignite your griddle and set all burners to high. Allow the griddle to heat up until it changes color, typically turning a dark brown or blueish hue. This color change indicates that the metal’s pores are opening, making it ready to absorb the oil effectively. :contentReference[oaicite:1]{index=1}
3. Applying the Oil
Once the griddle is hot, it’s time to apply the first layer of oil:
- Using heat-resistant gloves, pour a small amount of your chosen oil onto the griddle surface.
- With a pair of tongs and a folded paper towel or cotton cloth, spread the oil evenly across the entire surface, including the sides and corners. Ensure only a thin layer is applied; excess oil can lead to a sticky surface.
4. Smoking Process
After applying the oil:
- Maintain the burners on high and allow the oil to heat until it begins to smoke. This smoking indicates that the oil is breaking down and bonding to the metal, forming the desired non-stick layer.
- The smoking should last several minutes. Once it subsides, the oil has polymerized, creating a hardened layer.
5. Repeating the Process
For optimal seasoning, it’s recommended to apply multiple layers:
- After the first layer has smoked off, reduce the heat and let the griddle cool slightly.
- Repeat the oil application and smoking process 2-3 more times. Each layer will darken the griddle further, enhancing the non-stick surface.
6. Final Coating
After the desired number of layers:
- Allow the griddle to cool down.
- Apply a final thin layer of oil to protect the surface until its next use.
Maintaining Your Seasoned Griddle
Proper maintenance ensures the longevity of your griddle’s seasoning:
- Regular Cleaning: After each use, while the griddle is still warm, scrape off any food residues with a griddle scraper. Wipe down with a paper towel and apply a thin layer of oil to maintain the seasoning.
- Avoid Soaps and Harsh Chemicals: Refrain from using soap or abrasive cleaners, as they can strip away the seasoning.
- Periodic Re-Seasoning: Depending on usage, periodically re-season your griddle by applying a thin layer of oil and heating it until it smokes. This practice reinforces the non-stick surface and fills in any gaps in the seasoning. :contentReference[oaicite:2]{index=2}
Troubleshooting Common Issues
Sticky or Gummy Surface
If your griddle surface feels sticky, it’s likely due to applying too much oil during the seasoning process. To remedy this:
- Heat the griddle on high to allow the excess oil to burn off.
- Once cooled, wipe down the surface to remove any residue.
- Re-season with a thinner layer of oil.
Flaking or Peeling Seasoning
Flaking can occur if the griddle wasn’t adequately cleaned before seasoning or if incompatible oils were used. To fix this:
- Strip the griddle surface by heating and scraping off the peeling areas.
-
::contentReference[oaicite:3]{index=3}
Last updated on