How to Use a Table Saw Like a Pro: A Beginner’s Guide to Precision Cutting
The table saw is one of the most powerful and versatile tools in any woodworker’s arsenal. Whether you’re a beginner tackling your first DIY project or an experienced craftsman refining your technique, understanding how to use a table saw safely and effectively is crucial. This guide will walk you through everything you need to know, from setup and safety to advanced cutting techniques.
What Is a Table Saw and How Does It Work?
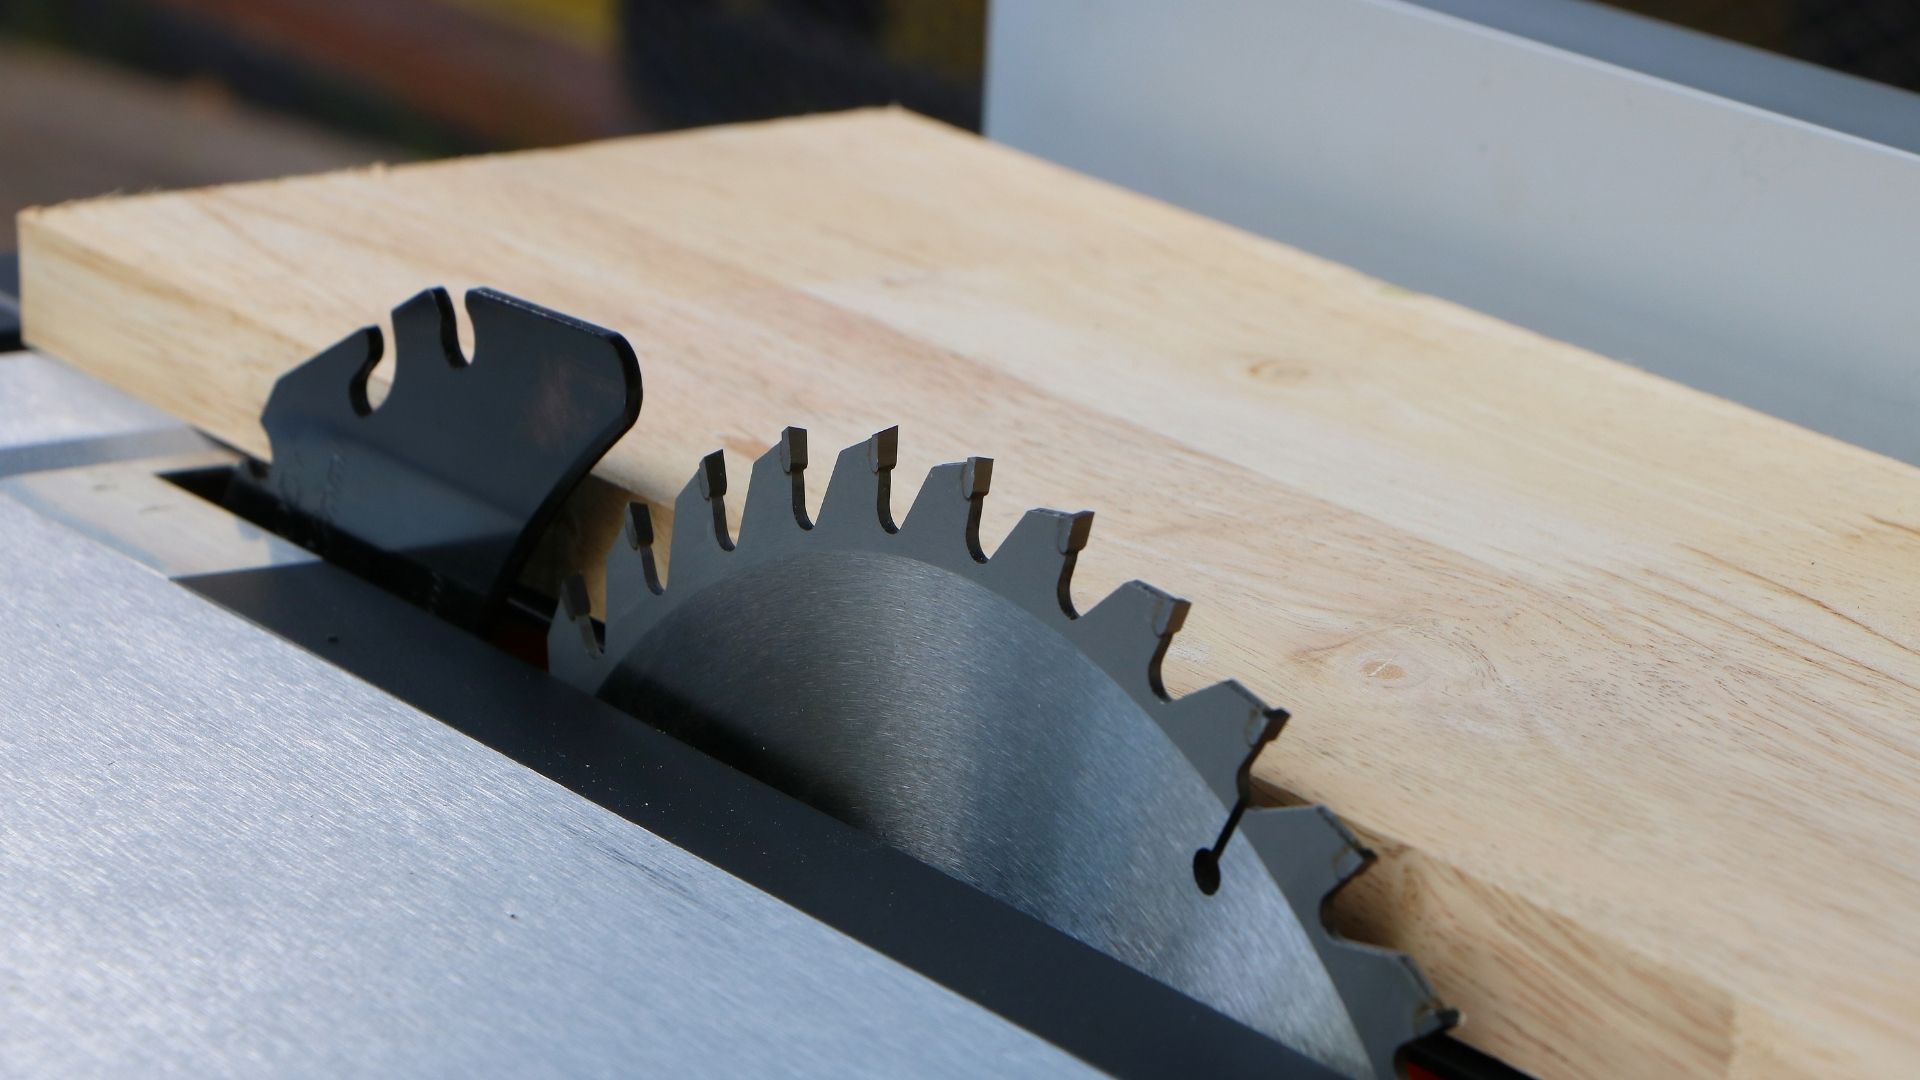
A table saw consists of a circular blade mounted under a flat surface, with the blade protruding through a slit in the table. This setup allows for smooth, controlled cuts in wood, plastic, and even some metals. The height and angle of the blade can be adjusted to create different types of cuts, making the table saw one of the most indispensable tools in a workshop.
Key Components of a Table Saw
Before you start cutting, it’s important to understand the main parts of a table saw:
- Blade: The saw’s sharp, rotating edge that cuts through material.
- Fence: A guide that keeps your workpiece straight and parallel to the blade during rip cuts.
- Miter Gauge: A tool that helps you make angled or crosscuts accurately.
- Blade Guard: A safety cover that protects you from accidental contact with the spinning blade.
- Riving Knife: A thin piece of metal positioned behind the blade to prevent kickback.
- Throat Plate: A removable insert around the blade that allows for easy blade changes and dust collection.
Table Saw Safety: Avoiding Common Mistakes
Because of its power, a table saw requires strict safety precautions. Before turning it on, ensure you’re following these essential guidelines:
Wear Protective Gear
- Safety glasses: Protect your eyes from dust and wood chips.
- Ear protection: Table saws can be loud, so use earmuffs or earplugs.
- Proper clothing: Avoid loose clothing and jewelry that could get caught in the blade.
- Gloves: While gloves can protect your hands from splinters, avoid wearing them when feeding wood through the saw to maintain full control.
Prevent Kickback
Kickback occurs when wood gets caught on the blade and is forcefully thrown backward. To prevent this:
- Always use a riving knife or splitter.
- Keep the fence aligned and properly adjusted.
- Use push sticks or push blocks when cutting narrow pieces to keep your hands away from the blade.
- Maintain firm, even pressure when feeding wood through the saw.
Basic Cuts: Mastering the Essentials
There are two primary types of cuts you’ll make with a table saw: rip cuts and crosscuts.
Rip Cuts (Cutting Along the Grain)
Rip cuts are made parallel to the wood grain and are commonly used to resize boards.
- Adjust the fence to the desired width.
- Set the blade height so it’s just slightly higher than the thickness of the wood.
- Turn on the saw and let the blade reach full speed.
- Slowly push the wood through, keeping it flush against the fence.
- Use a push stick when cutting narrow pieces to keep your fingers safe.
Crosscuts (Cutting Against the Grain)
Crosscuts are used to shorten boards and create precise angles.
- Attach the miter gauge and set it to the desired angle (usually 90 degrees for a straight cut).
- Hold the board securely against the miter gauge.
- Push the workpiece through the blade in a smooth, steady motion.
Advanced Table Saw Techniques
Making Dado Cuts
Dado cuts are wide grooves in wood, commonly used for shelving or cabinetry. To make a dado cut:
- Replace the standard blade with a dado blade set.
- Adjust the blade height to the desired groove depth.
- Run the board over the blade in multiple passes until the desired width is achieved.
Bevel Cuts for Angled Edges
Bevel cuts are angled cuts along the edge of a board, often used in decorative trim or joinery.
- Adjust the blade angle using the bevel control.
- Align your workpiece with the fence or miter gauge.
- Make the cut as you would with a rip or crosscut, ensuring steady pressure and control.
Maintaining Your Table Saw
Regular maintenance keeps your table saw in top condition and ensures safe operation.
Cleaning and Lubrication
- Remove dust and debris from the saw after each use.
- Lubricate the moving parts periodically to prevent rust and wear.
Blade Care
- Clean the blade with a resin remover to prevent buildup.
- Sharpen or replace the blade if it becomes dull to maintain clean cuts.
Alignment Checks
- Ensure the blade is parallel to the miter slot to prevent binding.
- Verify that the fence is square to the blade for accurate rip cuts.
Conclusion: The Power of Precision
Learning how to use a table saw safely and effectively opens up a world of woodworking possibilities. By following proper safety measures, mastering basic cuts, and maintaining your equipment, you can achieve precise and professional results on every project. Whether you’re building furniture, trim, or custom woodwork, the table saw remains a trusted companion in any workshop.
Further Reading & Resources
Want to see a table saw in action? Check out this video tutorial for a hands-on demonstration: